RAID Levels for NAS Explained: RAID 0, 1, 5, 6, and 10 Compared
Once you move past a single external drive and start planning a real home NAS, the first serious decision you'll face isn't which drives to buy - it's which RAID level to run them in. RAID (Redundant Array of Independent Disks) determines whether your NAS survives a drive failure without losing data, how much of your total raw capacity you actually get to use, and how the array performs day to day. Get it wrong and you either waste half your storage budget on redundancy you didn't need, or you build an array that looks resilient on paper but can't actually survive the failure pattern most likely to hit you. This guide walks through the RAID levels that actually matter for a home or small-office NAS, what each one trades off, and how to pick based on your real drive count and risk tolerance - building on our home NAS drive-count guide rather than repeating it.
RAID 0: Striping for Speed, Zero Redundancy
RAID 0 splits data evenly across two or more drives with no redundancy at all - it exists purely to boost throughput and combine capacity, not to protect data. With two drives, you get the full combined capacity and roughly double the sequential read/write speed of a single drive, but losing either drive destroys the entire array's data, not just half of it. For a NAS specifically, RAID 0 is rarely the right call unless the array is holding purely disposable, easily re-downloadable, or actively-backed-up-elsewhere data (a video-editing scratch volume, for example). If your NAS is meant to be your actual backup destination, RAID 0 defeats the purpose entirely - you'd be trusting your only backup copy to an array that's statistically more likely to fail than a single drive, since losing any one of N drives kills everything.
RAID 1: Mirroring for Simple, Reliable Redundancy
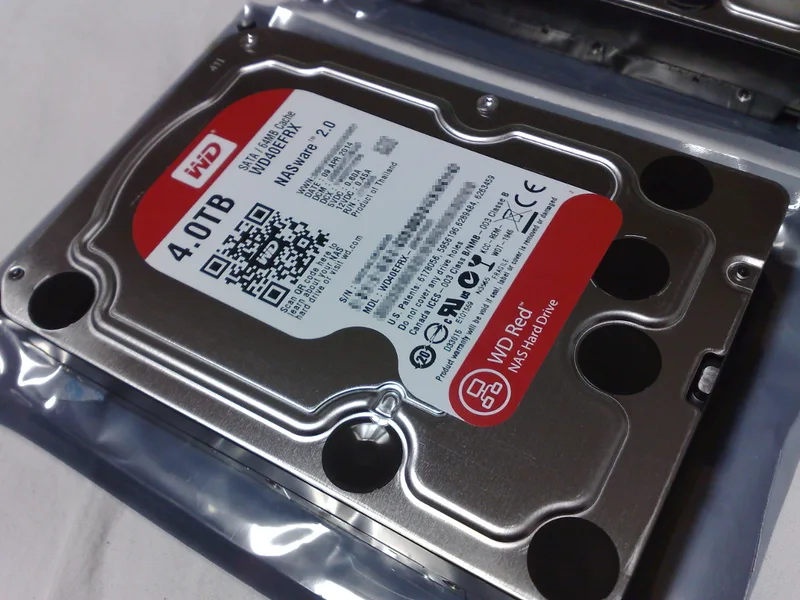
RAID 1 mirrors data identically across two drives - every byte written to one drive is written to the other simultaneously. You get exactly one drive's worth of usable capacity out of two drives (50% efficiency), but the array survives the complete failure of either drive with zero data loss, and read performance can actually improve slightly since the controller can read from whichever drive responds faster. This is the simplest, most predictable redundancy option and the right starting point for a two-bay NAS holding your primary backup target. A drive like the Red 4TB NAS Hard Drive, purpose-built for 24/7 NAS operation with a 5400 RPM IntelliPower spindle designed for continuous array duty rather than desktop burst workloads, is a realistic example of what goes into a RAID 1 pair - two of them in mirror gives you 4 TB of protected capacity from 8 TB of raw drives.
RAID 5: Parity Redundancy for Three or More Drives
RAID 5 distributes data plus a parity block across three or more drives, so the array can rebuild any single failed drive's contents from the parity data on the remaining drives. You get the combined capacity of all drives minus one (with four 4 TB drives, that's 12 TB usable from 16 TB raw - 75% efficiency, a meaningfully better ratio than RAID 1). The trade-off is rebuild time and risk: when a drive fails and you replace it, the array has to read every remaining drive in full to reconstruct the missing data, which can take many hours to a full day or more on multi-terabyte drives, and during that rebuild window the array has zero redundancy - a second drive failure during rebuild means total data loss. This "rebuild vulnerability window" is the single most important thing to understand about RAID 5 on modern high-capacity drives, where rebuild times have grown considerably longer than they were on smaller, older drives.
RAID 6: Double Parity for Larger, Higher-Risk Arrays
RAID 6 extends RAID 5's idea with a second, independent parity block, so the array survives two simultaneous drive failures rather than just one - directly addressing RAID 5's rebuild-vulnerability weakness. You get the combined capacity of all drives minus two (six 4 TB drives yields 16 TB usable from 24 TB raw), and write performance is somewhat lower than RAID 5 because the controller has to calculate and write two parity blocks instead of one. RAID 6 is the recommended choice for arrays of five or more large-capacity drives specifically because the rebuild window on big drives is long enough that a second failure during that window is a real, not theoretical, risk - especially since drives purchased together often come from the same manufacturing batch and can fail in a correlated pattern.
RAID 10: Mirroring and Striping Combined
RAID 10 (sometimes written 1+0) combines mirrored pairs with striping across those pairs - it needs a minimum of four drives, arranged as two mirrored pairs that are then striped together. You get 50% usable capacity (same ratio as RAID 1) but with meaningfully better performance than RAID 1 alone and, critically, a much faster rebuild than RAID 5/6, because rebuilding only requires copying from the surviving drive in the affected mirror pair rather than reading every drive in the array. RAID 10 also tolerates multiple drive failures as long as they don't hit both drives in the same mirrored pair - a more forgiving failure pattern than RAID 5's single-failure limit. The trade-off is cost efficiency: at 50%, you're paying for twice the raw capacity you actually get to use, which is why RAID 10 tends to show up in performance-sensitive small-business NAS setups more than pure home backup arrays.
Choosing a RAID Level for Your Actual Drive Count
With two bays, RAID 1 is close to the only sensible redundant option. With three to four bays holding large drives, RAID 5 is workable but budget real time for the rebuild-vulnerability window and keep a genuinely separate backup (RAID is not a backup by itself - it protects against drive failure, not against accidental deletion, ransomware, or fire). With five or more bays of large-capacity drives, RAID 6 is the safer default over RAID 5 given how long rebuilds take on modern multi-terabyte drives. If your NAS also does double duty as active working storage rather than pure backup, RAID 10's rebuild speed and performance advantage can be worth the capacity cost. Whichever level you choose, remember that RAID protects against drive failure specifically - for real backup and portable off-array copies, see our portable vs. internal storage guide for when a separate external drive still earns its place alongside a NAS.
The Bottom Line
There's no single "best" RAID level - only the right level for your drive count, your budget for lost usable capacity, and how much rebuild-window risk you're willing to accept. RAID 1 for two-bay simplicity, RAID 5 for a balanced three-to-four-bay array where you accept some rebuild risk, RAID 6 once you're running five-plus large drives, and RAID 10 when rebuild speed and performance matter more than capacity efficiency. Our full WD Red 4TB NAS HDD review covers what to look for in the drives themselves before you decide on the array structure around them.