GPU Undervolting vs. Power Limiting: Two Different Ways to Cut Power Draw
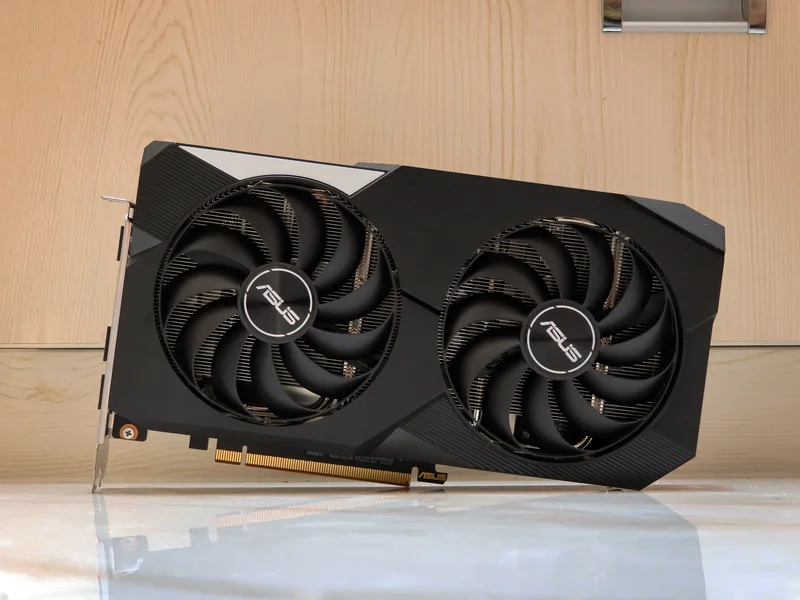
Both undervolting and power limiting reduce how much electricity a graphics card pulls, and both are often lumped together as "the same thing" in forum advice. They aren't, and the difference matters if your actual goal is to cut power draw without losing meaningful performance, or specifically to cut noise and heat in a small or quiet build where every extra watt becomes extra fan RPM.
What Power Limiting Actually Does
A power limit slider, found in tools like MSI Afterburner, simply caps the total wattage the GPU is allowed to draw, expressed as a percentage of the card's rated maximum. Drop a card from its stock TDP down by a meaningful margin and the GPU's boost algorithm will automatically pull back clock speeds whenever it would otherwise exceed that ceiling. This is the simplest possible efficiency tweak, one slider, no risk of instability, but it's also the blunter tool, because the card is still running at stock voltage for whatever clock speed it settles on, which isn't the most efficient operating point available for that clock target.
What Undervolting Actually Does
Undervolting reduces the voltage supplied at each point on the GPU's voltage-frequency curve, rather than capping total power. Every GPU chip has voltage headroom built in at the factory to guarantee stability across a wide range of silicon quality and ambient conditions, headroom that a specific individual chip usually doesn't need to hit its rated clocks. By manually lowering voltage at a given clock target and confirming stability through testing, you can often hold the same or nearly the same boost clocks while drawing meaningfully less power and generating meaningfully less heat, because power draw scales roughly with the square of voltage. This is why undervolting frequently delivers a better performance-per-watt outcome than simple power limiting, even though both techniques ultimately reduce the number shown on a wattmeter.
Real-World Impact on a High-Power Card
On a power-hungry card, the gap is dramatic enough to matter for case airflow and acoustics, not just the electricity bill. A well-executed undervolt on a card with 16,384 CUDA cores and a 450W stock TDP can often maintain 95% or more of stock gaming performance while cutting power draw by 15-25%, which directly reduces fan curve aggressiveness and coil whine under load. On a lower-power card, such as one built around 2,048 stream processors and a 160W TDP, the absolute wattage saved is smaller, but the thermal and noise benefit in a compact case can still be very noticeable relative to the card's total power budget.
Tools and Process: What Undervolting Actually Involves
Most undervolting is done through the same curve editor found in MSI Afterburner or a vendor's own tuning utility, where a graph plots voltage against clock speed. The process involves selecting a target clock point, dragging its voltage down incrementally, and running a combination of synthetic stress tests and real game sessions to confirm the card doesn't crash, artifact, or driver-reset at that voltage. A stable curve on paper in a stress test can still fail in a specific game with an unusual workload pattern, which is why testing across more than one title matters before trusting a curve for daily use. Saving the resulting profile so it reapplies automatically on boot is the last step most people skip and then wonder why their "undervolt" silently reverted after a driver update.
Why Undervolting Is More Work Than Power Limiting
Power limiting is a single slider that works identically for every chip of the same model. Undervolting is chip-specific; two supposedly identical GPUs can tolerate different minimum voltages at the same clock speed due to normal manufacturing variance often called the silicon lottery, so a curve that's rock-stable on one card can crash on another. Finding a stable undervolt requires incrementally testing lower voltage points, running stress and game workloads at each step, and backing off any point that produces a driver crash or visual artifact, a process that takes real time, unlike power limiting's instant one-slider adjustment.
Combining Both for Maximum Effect
The two aren't mutually exclusive. A common approach for a quiet or small-form-factor build is to undervolt first to find the most efficient stable voltage-frequency curve, then apply a modest power limit on top as a safety ceiling for edge cases the undervolt testing didn't catch. This combination typically gets closer to the best possible efficiency than either technique alone, at the cost of a more involved setup process, and it pairs naturally with broader voltage safety practices that apply just as much to GPUs as CPUs.
Who Should Actually Bother
- Small-form-factor and silent builds benefit the most; undervolting is close to mandatory if you want a high-end GPU without high-end noise and heat.
- Anyone on a power-limited circuit or facing high electricity costs will find either technique helps, but undervolting protects more of the actual frame rate per watt saved.
- Pure set-it-and-forget-it users are usually fine with a simple power limit, which takes thirty seconds to configure and needs no ongoing testing.
Power limiting is the fast, safe, low-effort option; undervolting is the higher-effort option that usually rewards the effort with meaningfully better efficiency rather than just a lower number on a slider. Whichever card you're tuning, whether a high-end RTX 4090 or a more modest RX 6600 XT, the underlying principles are identical.
Monitoring Stability Properly Before Trusting a Curve
A curve that survives ten minutes of a synthetic benchmark isn't necessarily stable for daily use. Long, varied game sessions, ideally including the specific titles someone actually plays rather than just a single benchmark loop, are a better real-world stability test because different rendering workloads stress the GPU's power delivery and memory controller differently. Watching for driver-reset events, texture corruption, or sudden black-screen crashes over several days of normal use, rather than a single stress-test pass, is the difference between a curve that looks stable and one that actually is. It's also worth re-testing after any driver update, since a new driver's power management behavior can occasionally expose instability in a curve that was previously fine.
Ambient Temperature Changes the Safe Margin
A voltage curve validated during a cool winter room temperature can become unstable months later in a warm summer room, since higher ambient temperature reduces the thermal margin available at any given voltage. Builders who tune an undervolt once and never revisit it sometimes see occasional summer crashes that have nothing to do with the curve itself being wrong, only the assumptions it was tested under no longer holding. Leaving a small amount of extra voltage margin beyond the bare minimum stable point is a reasonable trade for year-round reliability rather than chasing the absolute lowest possible voltage.